Understanding Ceramic Window Tint
What is Ceramic Window Tint?
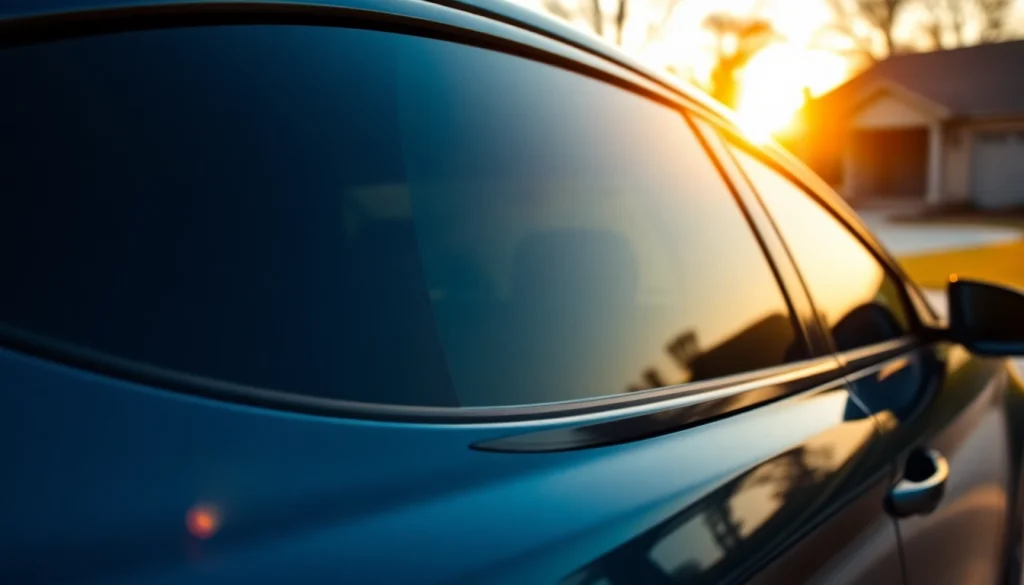
Ceramic window tint is an advanced form of window film that utilizes nanotechnology to provide superior heat rejection and UV protection. Unlike traditional window tints that use dyes or metals, ceramic window tint is made up of ceramic particles that effectively block out solar heat while allowing visibility. Its unique composition enhances durability and clarity, making it a preferred choice for both residential and automotive applications. By opting for ceramic window tint, users can enjoy a more comfortable indoor environment without compromising on aesthetics.
How Does Ceramic Window Tint Work?
The effectiveness of ceramic window tint lies in its unique structure and composition. It features tiny ceramic particles that reflect and dissipate heat rather than absorbing it. This method of blocking infrared radiation helps in significantly reducing interior temperatures while preserving the natural light inside the vehicle or room. Ceramic window tint also enhances privacy and provides a protective barrier against harmful UV rays that can cause skin damage and fade furnishings. With its non-metallic nature, this type of tint does not interfere with electronic signals, making it an excellent choice for modern vehicles equipped with GPS and Bluetooth technologies.
Benefits of Using Ceramic Window Tint
The benefits of ceramic window tint extend beyond aesthetic appeal. Here are some of the most notable advantages:
- UV Protection: Blocks up to 99% of harmful UV rays, reducing the risk of skin cancer and preventing interior fading.
- Heat Rejection: Effectively reduces solar heat gain, creating a more comfortable environment.
- Clarity: Maintains superior optical clarity with no distortion, allowing for clear visibility.
- Durability: Resistant to fading and peeling, ensuring long-lasting performance.
- Non-Reflective: Does not impair visibility at night and avoids the mirror-like appearance of traditional tints.
- Signal-Friendly: Does not interfere with electronic devices like cell phones and GPS systems.
Choosing the Right Ceramic Window Tint
Types of Ceramic Window Tint
Ceramic window tints come in various shades and performances, catering to different needs. Here are a few types to consider:
- Dyed Ceramic Tint: Combines dyed film with ceramic particles for enhanced heat rejection while maintaining privacy.
- Metalized Ceramic Tint: Includes metals for additional strength and glare reduction but may interfere with signals.
- Carbon Ceramic Tint: A newer category that includes carbon for better UV protection and a matte finish, with no signal interference.
Factors to Consider in Selection
When selecting ceramic window tint, several factors should be taken into account:
- Local Laws: Different states have varying regulations on allowable tint levels. Always check your local laws, particularly for vehicles.
- Light Transmission: Determine how much natural light you want to let in. This is often measured in Visible Light Transmission (VLT) percentage.
- Performance Features: Consider additional features such as anti-graffiti coatings or scratch resistance.
- Warranty: Look for products that come with a warranty to ensure long-lasting protection.
Comparing Brands and Products
With numerous manufacturers producing ceramic window tint, it’s vital to compare different brands and their offerings. Look for reputable brands that offer rigorous testing reports and certified products. Compare performance levels, warranties, customer reviews, and installation guarantees. Engaging with trusted opinion leaders in automotive or home improvement blogs can provide insights into the best available brands for your specific needs.
Installation Process for Ceramic Window Tint
DIY vs Professional Installation
The installation of ceramic window tint can either be a DIY project or a professional service. DIY installation offers cost savings but requires meticulous attention to detail and the right tools. Professionals, on the other hand, possess the expertise to handle installation without bubbles or mistakes. Generally, the risk of errors may lead to costly reapplication, so weigh your skills against professional services before making a decision.
Step-By-Step Installation Guide
- Tools Needed: Gather tools such as a spray bottle, squeegee, utility knife, and lint-free cloth.
- Clean the Windows: Thoroughly clean the windows to remove any dirt, debris, and oils.
- Measure and Cut Film: Carefully measure the window size and cut the ceramic film a little larger than necessary.
- Apply Solution: Use a soapy water solution to wet the window and film, allowing for repositioning.
- Position the Film: Apply the film on the window, using a squeegee to eliminate air bubbles.
- Trim the Edges: Use a utility knife to trim excess film around the edges.
- Final Touches: Use a heat gun to smoothen the film and ensure it adheres properly.
Common Mistakes to Avoid
When installing ceramic window tint, avoid these common pitfalls:
- Not Cleaning the Windows: Failing to clean can result in bubbles and debris trapped under the film.
- Incorrect Measurements: Always double-check your measurements before cutting the film.
- Overheating the Film: Use a heat gun sparingly to avoid damaging the film during installation.
- Ignoring the Creases: Pay attention to creases and air bubbles during application for a smooth finish.
Maintenance and Care of Ceramic Window Tint
Best Practices for Longevity
To ensure your ceramic window tint lasts as long as possible, follow these best practices:
- Avoid Using Abrasive Cleaners: Stick to gentle, non-ammonia cleaning solutions to prevent damage to the tint.
- Regular Cleaning: Clean regularly with a soft cloth to maintain cleanliness and clarity.
- Avoid Using Sharp Objects: Be careful not to use sharp objects near the tinted windows, which could scratch or peel the film.
Cleaning Tips for Optimal Clarity
For cleaning ceramic window tint, consider the following tips:
- Use Water and Mild Soap: A mixture of water and gentle soap is usually sufficient for cleaning.
- Microfiber Towels: Always use soft, lint-free microfiber towels to avoid scratching the surface.
- Windows 30 Days Post-Installation: Avoid cleaning until at least 30 days after installation to allow proper adhesion.
Signs of Damage and Repair Options
Ceramic window tint can experience damage over time, so watch for these signs:
- Bubbles: Air bubbles can indicate poor installation or damage; these can often be corrected.
- Peeling Edges: Peeling may require a complete removal and reapplication of the film.
- Scratches: For minor scratches, specialized repair kits are available, but deeper scratches might need replacement.
Frequently Asked Questions about Ceramic Window Tint
What are the primary benefits of ceramic window tint?
Ceramic window tint provides UV protection, heat rejection, glare reduction, enhanced visibility, and durability, making it a superior option for both cars and buildings.
How long does ceramic window tint last?
When properly installed and maintained, ceramic window tint can last up to 15 years, depending on the quality of the film and environmental factors.
Can I install ceramic window tint myself?
Yes, installation can be DIY, but it requires precision and care. Professional installation is recommended for optimal results and longevity.
Is ceramic window tint worth the investment?
Absolutely! The long-term benefits of energy savings, UV protection, and comfort make ceramic window tint a worthwhile investment.
Does ceramic window tint provide privacy?
Yes, ceramic window tint can enhance privacy, especially in darker shades, while maintaining excellent visibility during the day.